I went through hell to make an HDR YouTube video so you don’t have to
Until Microsoft and Google get it together, HDR will remain a niche on YouTube.
If you’re a YouTube creator, HDR (high dynamic range) video is a good way to draw eyeballs and make your footage look as beautiful as possible. Compared to standard video (SDR), it’s far brighter and more colorful — almost more real than reality.
With that in mind, I decided earlier this summer to create Engadget’s first 4K HDR video for YouTube on Fujifilm’s X-T4 and document the process in an explainer. How hard could it be? Little did I know that it would turn out to be a trainwreck in nearly every possible way. In the end, I ran out of time and failed to post the video in HDR.
But I’m stubborn, so I tried again and this time, I succeeded. However, it was still a huge challenge, so this article and the accompanying video are as much a cautionary tale as a how-to guide. I’m also calling out tech companies (especially Microsoft and Google) and asking them to step up and make it easier for both viewers and creators.
What’s holding creators back from HDR?
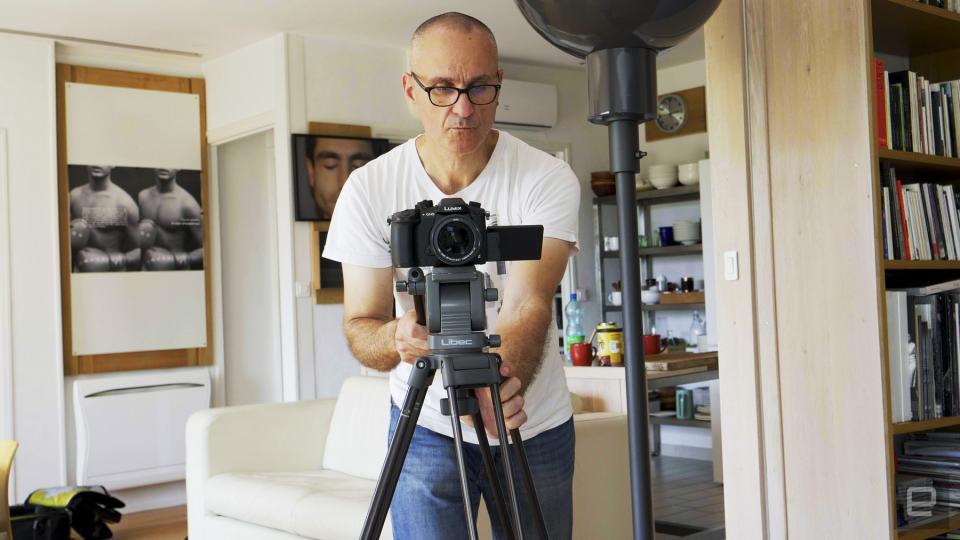
If you’re a producer, HDR video can elevate your work because it’s simply brighter and more colorful than standard video. The benefits are more dramatic than 4K, which only delivers extra resolution that many people can’t even see.
While few people own HDR monitors, plenty of folks have HDR televisions and HDR smartphones. If you have a newer HDR-capable phone or TV and want to see the stunning difference between SDR and HDR, watch an ordinary video and then watch this one.
If you’re now feeling motivated, let me bring you back down to Earth. Producing HDR is extremely challenging, and depending on what equipment you have and your level of ambition, it may not be worth your time. It requires you to know a bunch of different standards, complex color space concepts and endless jargon like “MaxFALL” and “Rec.2020.”
It’s begging for a more streamlined process from acquisition to post-production to final delivery on YouTube. Unfortunately, the key players have focused on professional HDR production and streaming delivery to consumers on HDR TVs. Meanwhile, little attention has been paid to YouTubers or PC users. As a result, the experience is pretty miserable on a Windows 10 PC or Mac and browsers like Google Chrome.
To start, HDR is completely broken on YouTube on PCs right now, and has been for at least two months, thanks to a bug on all Chrome-based browsers and also the clunky way that Windows 10 handles HDR. While it might not affect that many users, it clearly affects creators who took the time to craft an HDR video. It’s also very demotivating for anyone thinking of making an HDR video (i.e., me) because many folks can’t even play it on their PC right now.
If you’re not too discouraged yet, read on. While shooting and editing 4K is not that different from producing HD, HDR changes the entire color space, forcing you to rethink how you shoot, edit and color-correct your videos.
What is it?

To produce HDR, it’s best to have a decent understanding of how it works. For a more technical dive into HDR, check out Engadget’s explainer video. For the purposes of this story, though, I’ve included a brief explanation here, as well.
HDR’s main draw is the extra brightness. Display brightness is usually expressed in “nits” of peak brightness. HDR increases dynamic range by increasing brightness, which in turn boosts the contrast between light and dark images, measured in photographic “stops.”HDR is designed to go up to 10,000 nits, around 30 to 40 times more than the screen you’re probably looking at right now.
The other thing HDR offers is a wider range of colors (called a gamut) and more colors within that gamut (the bit depth). Certain hues, particularly very saturated colors, are visible on HDR displays but not on standard TVs, projectors or computer displays.
HDR uses a color gamut called Rec.2020, while SDR uses a gamut called Rec.709. While both are much narrower than the gamut of colors your eyes can perceive, Rec.2020 can show over 100 percent more color than SDR, making for a noticeably richer experience.
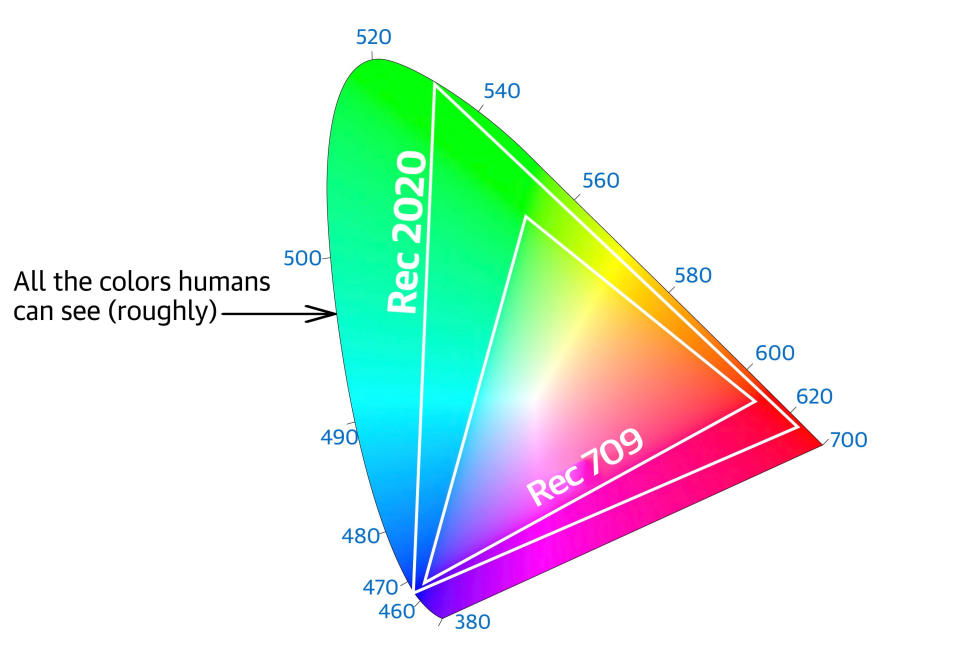
HDR devices also deliver more colors within that gamut by increasing bit depth. Older Rec.709 HDTVs and cameras were generally limited to displaying 8-bit color information, meaning that each pixel has 256 levels between black and white luminance. This means you can often see “banding” or blocky color transitions in subtle gradient areas in skies or shadows.
However, HDR TVs and cameras using Rec.2020 standards can record and display color in 10 or more bits, so you get 1,024 levels of luminance between the blackest black and whitest white and over a billion colors. That delivers much smoother gradients between colors and shades.
One key thing to know about HDR is that there are two flavors: PQ (or perceptual quantizer) and HLG (hybrid log gamma). Explaining those is beyond the scope of this article, but both use the Rec.2020 wide color gamut. The main difference is that HLG is designed for old-school broadcast signals, so it’s backward compatible with SDR’s Rec.709. PQ (also known as ST.2084) isn’t backward compatible, so it’s trickier to work with but generally delivers better HDR results.
Shooting
The key to shooting HDR is to have the right equipment and setup. Beware that this is a simplified guide for novices. For a more detailed dive, check out this series from Mystery Box, a company responsible for many popular HDR videos on YouTube.
Can you shoot HDR with a camera that lacks an HDR-friendly log, along with 10-bit recording functions? Sure. Will it look great? No. You’re more likely to end up with banding, clipping, detail loss, washed-out colors and an image that just doesn’t measure up.
You need a camera that supports log recording and RAW video or 10-bit recording at a minimum. That way, your image is recorded into a wide-gamut color space that maximizes dynamic range, while letting you record the most colors into that space.
You might have guessed it by now, but your entry-level DSLR or mirrorless camera won’t cut it. Luckily, cameras with those aforementioned capabilities are far cheaper than they used to be. Panasonic’s GH5 can now be found for $1,300 (body only); the Fujifilm X-T3 is just $1,000; and Blackmagic Design’s Pocket Cinema Camera 4K costs $1,300. The latter model can record 12-bit RAW video, while the first two can shoot 10-bit video internally and externally. All offer log recording.
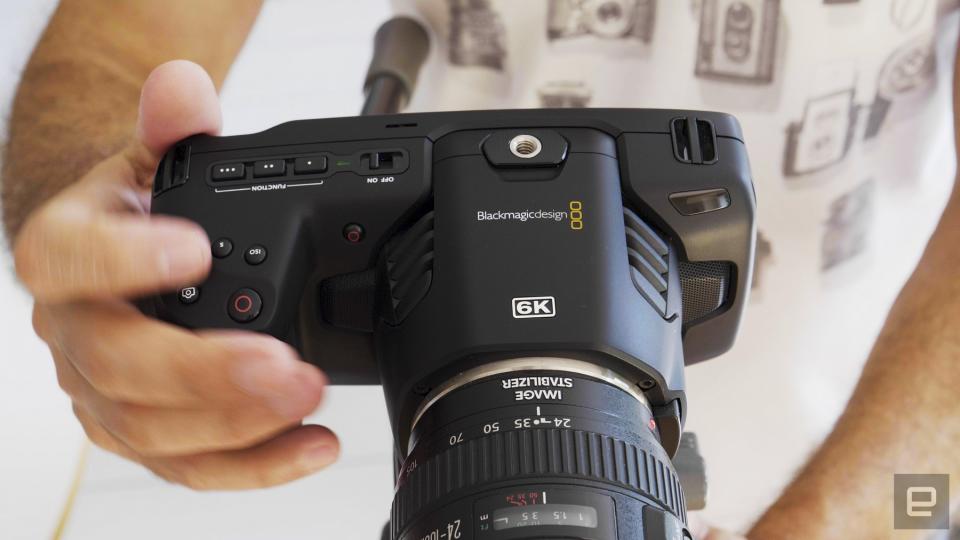
If your budget is more flexible, take a look at models like the Fujifilm X-T4 ($1,700), BMPCC 6K ($2,000), Panasonic’s S1 ($2,000), Nikon’s Z6 ($1,850) or Canon’s all-new EOS R6 ($2,500 on preorder). On the higher end of the scale is Panasonic’s $4,000, Netflix approved S1H, Canon’s new $3,900 EOS R5 and Sony’s all-new, $3,500 A7S III (on pre-order). Again, all of those cameras offer log profiles, along with either RAW recording or at least 10-bit color depth.
Now you need to set it up. The first thing to do is turn on the appropriate log profile setting to maximize the dynamic range. Beware that the resulting image will look washed out, but it will let you bring out some stunning video in post. Some cameras have a display setting that makes it easier to shoot by letting you see (but not record) a standard-looking image.
If you can afford it, your best bet is to use an external recorder with an HDR display, like Blackmagic Design’s $1,000 Video Assist 12G HDR or the $1,300 Shogun 7 HDR recorder from Atomos. That will allow you to apply a “LUT” (look-up table) setting that makes wide-gamut log footage look like regular Rec.709.
Once you start filming, exposure is crucial for HDR. Your best bet is to keep the log image away from the blacks and highlight regions and in the middle of your exposure range (using a zebra overlay or histogram can help with that). If you over- or under-expose the footage too much, you won’t be able to recover highlight or shadow detail.
Editing equipment
Ideally, you’ll need an editing system that lets you edit and grade HDR. However, if you don’t own a fancy monitor, computer or other equipment, you can still cheat your way to an HDR video. I’ll go into detail about that shortly.
First, you’ll need a fast Windows or Mac desktop or laptop, like something you’d be able to use for gaming. The minimum spec is 16GB of RAM, a relatively recent four-core or better CPU and an AMD or NVIDIA GPU that’s two generations old or newer. It should have USB-C with Thunderbolt support for Mac or PC, and an HDMI 2.0a output or better. On top of your system drive (ideally NVMe SSD), you’ll need a large second drive (at least 500GB) that’s either SATA SSD or, ideally, NVMe SSD.
A faster PC would work better. Thirty-two gigabytes of RAM would be much, much better than 16GB. I’d prefer to have an RTX-level NVIDIA or Radeon 5000-series (5500 or above) GPU or a Radeon VII. Unlike with gaming, extra CPU cores greatly improve performance when it comes to HDR production. The more, the better.
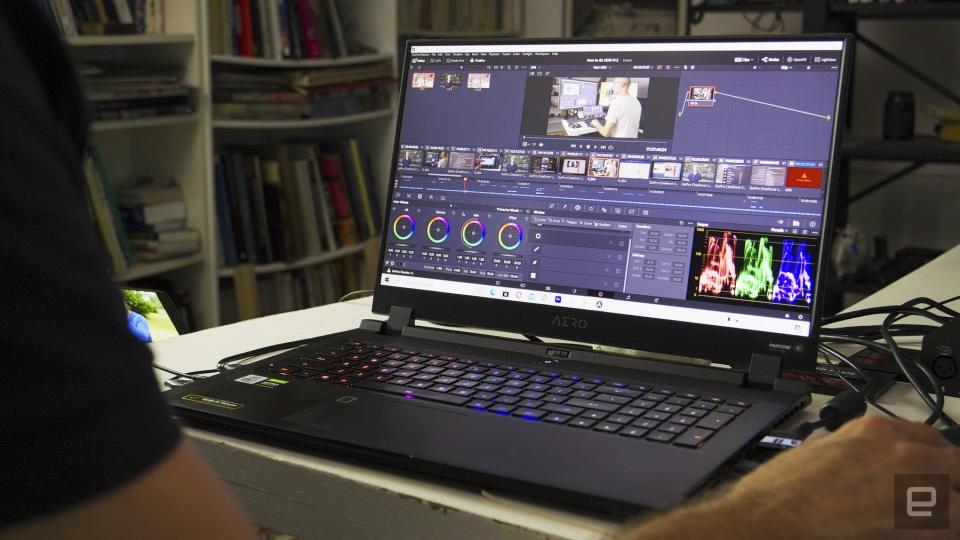
If you’re looking into laptops, Gigabyte’s Aero 15 WB is a good mid-range option (yes, $1,900 is a mid-range option for HDR editing), with an RTX 2070 Max-Q GPU, 6-core 10th-generation Intel Core i7 CPU, 16GB of RAM and a 512GB NVMe SSD. Just add another SSD (it can take two) and you’re ready to go. On the higher end, the Razer Blade 15 Advanced Edition comes with an Intel Core i7-10875H CPU, an NVIDIA RTX 2080 Super Max-Q GPU, 16GB of RAM and a 1TB NVMe SSD for $3,100. If neither fits your budget, you can probably build a well-specced desktop PC for less.
If you’re an Apple person, you’ll probably want a 16-inch MacBook Pro. They start at $2,400 with AMD Radeon Pro graphics, but the best configuration offers AMD Radeon Pro 5500M graphics (8GB), a bright 500-nit display, a 10th-gen 8-core Intel Core i9 CPU and 1TB of storage for $3,200. If a desktop model is what you’re after, the 27-inch iMac starts at $1,799. Or, if you’ve really got the cash, get an iMac Pro (starting at $5,000) or the $6,000-and-up Mac Pro.
For the best results, you’re going to need some kind of HDR grading monitor. That’s a complicated subject, so I’ll try to simplify it. The best “affordable” grading monitors are ASUS’ mini-LED $4,600 ProArt PA32UCX (pictured below) or Apple’s $5,000 Pro Display XDR, as they offer accurate colors and extremely bright output (1,200 and 1,600 nits, respectively). However, even those aren’t considered truly professional compared to grading displays like Sony’s $30,000 BVM-HX310.
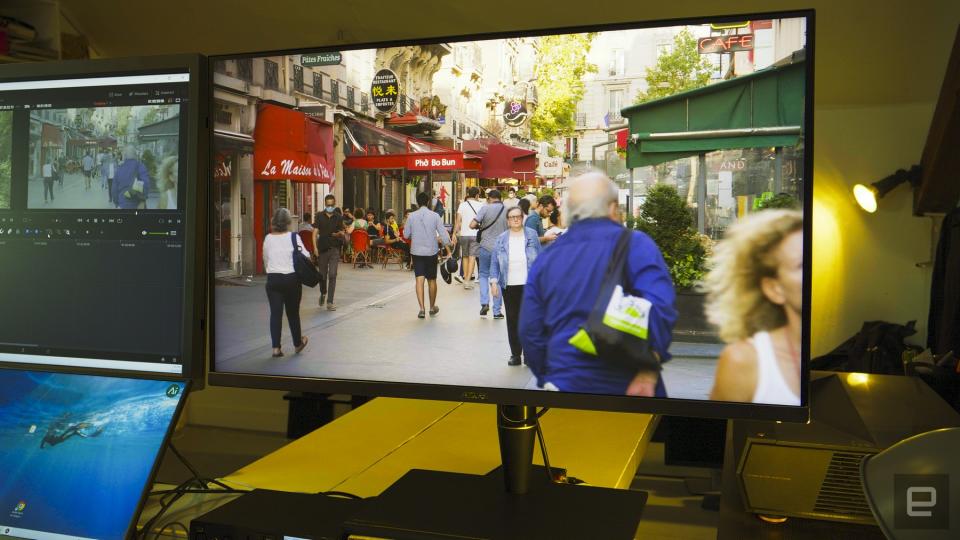
In a pinch, you can use any decent 10-bit HDR monitor, with some models costing under $600. Just be aware that they won’t be as bright or as accurate as the monitors mentioned above. Along with the ASUS ProArt model, I edited this HDR video using BenQ’s $2,000 SW321C, which isn’t nearly as bright but is just as color accurate. Dell’s 27-inch 4K U2720Q offers DisplayHDR 400 brightness in an IPS panel, with 10-bit color for $600.
Another choice is just to use a good 4K HDR TV set. Generally, the more you spend, the brighter and more color accurate it’ll be. Many models from Vizio, TCL, HiSense, LG, Sony, Samsung and others should fit the bill. On top of an HDR grading monitor or TV, you’ll need a regular monitor for your editing software (unless you’re content to use a laptop display). That can be virtually any PC monitor, but as usual, it’s better to spend the most you can.
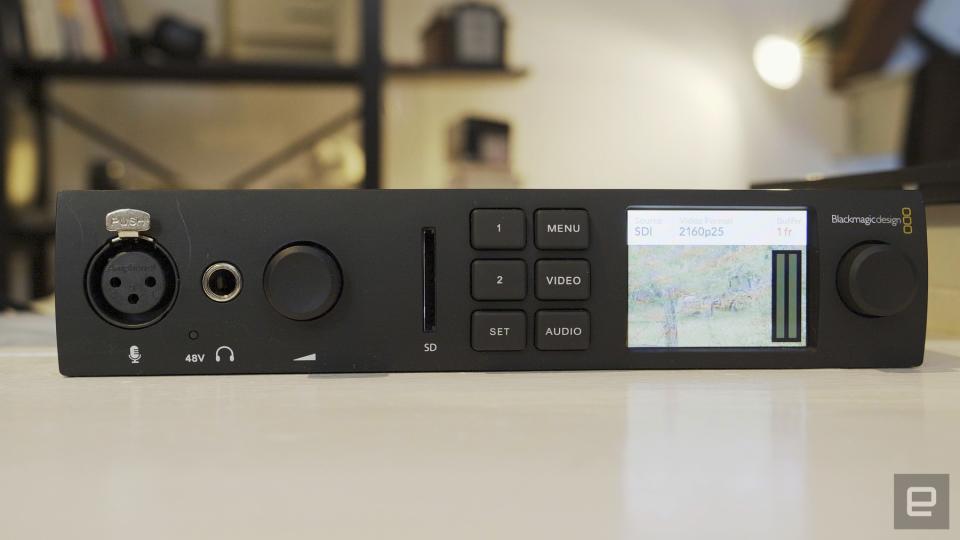
There’s one piece of equipment you need but may not even know exists. Video capture/playback devices let you properly display an HDR (PQ or HLG) signal on your monitor or TV. You’ll need this because your GPU isn’t capable of outputting a dedicated HDR video signal from editing software. So, without one, you’ll have no way of monitoring your HDR video for editing or color grading.
If you have a desktop PC and free PCIe slot, you can purchase a product like Blackmagic’s DeckLink Mini Monitor 4K for as little as $195. That will give you a 4K HDR output via HDMI 2.0, and you can connect that directly to your HDR display.
With a laptop you’ll need, at a minimum, Blackmagic Design’s $145 UltraStudio Monitor, which connects to your PC via a Thunderbolt port and supports HDR at up to 1080p30. While it can’t display 4K resolution, you’d see your colors accurately. To do this video, I borrowed Blackmagic Design’s $995 UltraStudio 4K Mini, which connected to the Thunderbolt port on my Gigabyte Aero 17. It supports 4K 60p HDR output and recording via HDMI 2.0b or professional SDI ports, and presented zero issues with either the ASUS ProArt or BenQ displays.
Editing and grading
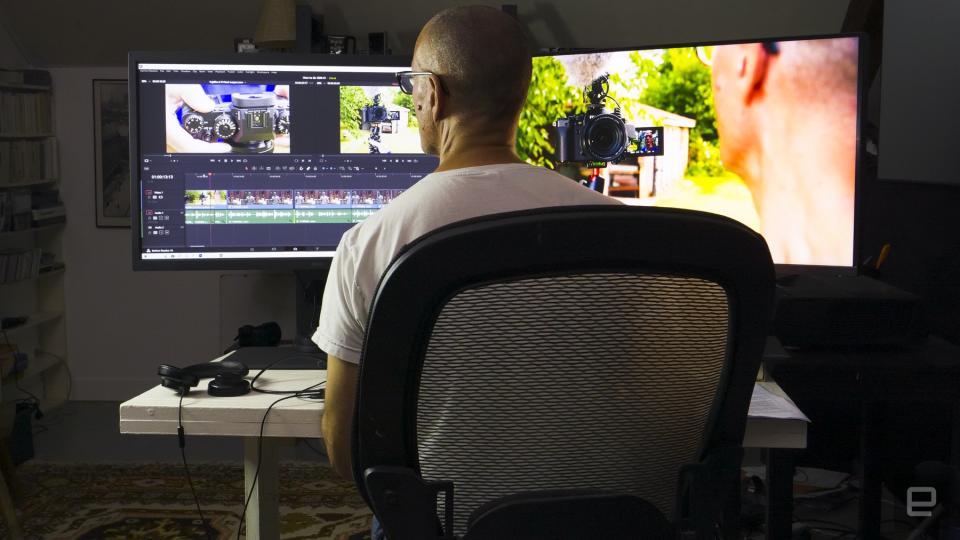
After shooting, you’ll have footage that looks pretty dull and crappy, but don’t worry. You’ll reap the benefits in post-production.
I’m using Blackmagic Design’s $300 DaVinci Resolve 16 Studio software for editing and color grading, simply because it has better tools than Premiere Pro for producing HDR content. (Note that the free Resolve version isn’t appropriate for HDR as it lacks many of the key features needed.) I’m assuming that you’re familiar with DaVinci Resolve editing and grading tools and have correctly set up the aforementioned gear. If not, I’d suggest starting your research here.
Editing and grading on Resolve in HDR is too complicated to explain in a single article. However, you can check out this excellent post on the subject from Mystery Box. That article is one in a five-part guide on doing HDR from theory to shooting to posting.
How-to videos are also, generally, hard to find on YouTube, but this one from Reelisations explains the basics and is actually in HDR, to boot. Another guide from Film Resolved explains exactly how to deliver HLG HDR video to YouTube if you don’t have an HDR display. Finally, the site Labo de Jay has some detailed YouTube explainers on HDR along with sample footage in all major HDR formats (in French with English subtitles).
The key takeaway here is that you have to change Resolve’s color space to HDR, either PQ or HLG. I’d recommend HLG to start because it supports both SDR and HDR on YouTube.
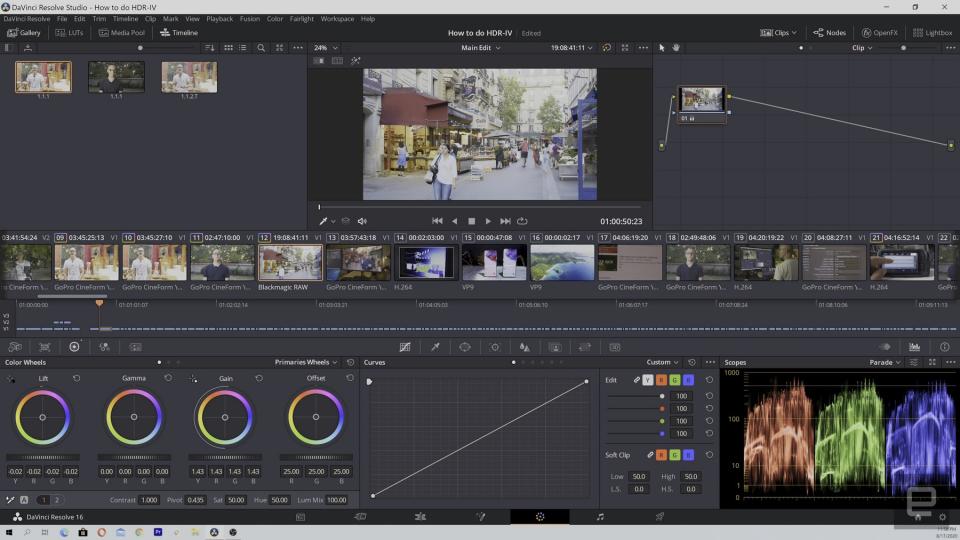
By using HLG, you can edit and color correct your footage without the need for an HDR display or a video display device. Just cut and grade your video normally, then export it to YouTube and check the HDR image on an HDR smartphone or TV. If you don’t like what you see, you can make adjustments and repeat the process until you do. This can be a pain, but it does make HDR doable on the cheap.
As mentioned, I graded the video accompanying this article using HLG. As I have two HDR displays on loan, I was able to check my project both in SDR and HDR at the same time. I needed to make some compromises, though. If I set the contrast and saturation where I wanted in SDR, it was overly contrasty and saturated in HDR. However, if I adjusted the HDR to look reasonably natural, the SDR image lacked punch and color.
In the end, I figured that far more people would see the video in SDR, so I graded it for that. It made the HDR hyper-realistic in terms of color and contrast, but gives folks who watched it on HDR smartphones and TVs a good idea of the potential. If you try to post your own HDR video and use HLG, you’ll have to figure out your own compromise. However, if you try to get the best of both and use PQ HDR — which uses metadata to help YouTube sort out HDR from SDR — then best of luck. It cost me many sleepless nights.
Wrap-up
Despite its enormous potential, HDR for YouTube creators is still primitive and broken in some ways. That’s too bad, because all the pieces are there. Features like log and even RAW video have come to inexpensive cameras. And, with a relatively modest investment in a PC, display and some other extras, anyone can create a mini HDR production studio.
But it’s tricky to learn and the PC features required for YouTube creators are hard to use. HDR on YouTube for PCs depends on the Chrome browser engine, but Google and Microsoft have left the Windows version in a broken state for months.
It’s still worthwhile learning how to make HDR content, even if you don’t have an HDR display. However, clearly, creators and their fans won’t buy into it en masse if the companies behind it aren’t interested. So, the camera makers, editing software companies and streaming platforms have to work together to make it more functional. Until that happens, HDR will remain a YouTube niche.
